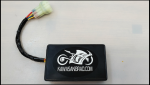

With TONS of nitrous parts as spares for the drag bike plus leftovers from previous projects, it was just a matter of time. I've been wanting to do this for a while. Now that I have the time there really isn't an excuse anymore. A good excuse might be that this is a bad idea but bad decisions make good stories right?
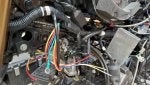
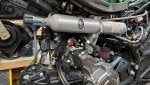
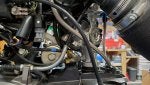
Starting with the hardest part (to me). Jet placement and mounting.
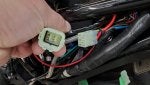
I was 95% sure I'd have to fab up a nitrous plate (spacer between throttle body and jug) and have the jet in there. As it turns out, there is a factory "bung" that just needs to be drilled and tapped. Seriously, if I had to design one of these from scratch with a nitrous jet bung that is exactly where I would put it. It's almost as if Kawasaki WANTED me to put nitrous on it.
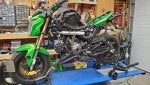
Anyways. Step 1 complete. Next is fuel supply and solenoid mounting.
![]()
![]()
![]()
![]()
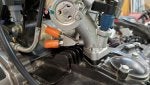
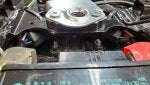
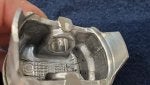
Starting with the hardest part (to me). Jet placement and mounting.
I was 95% sure I'd have to fab up a nitrous plate (spacer between throttle body and jug) and have the jet in there. As it turns out, there is a factory "bung" that just needs to be drilled and tapped. Seriously, if I had to design one of these from scratch with a nitrous jet bung that is exactly where I would put it. It's almost as if Kawasaki WANTED me to put nitrous on it.
Anyways. Step 1 complete. Next is fuel supply and solenoid mounting.